


Everybody has a kind of routine boots that we wear all day for every task, whether it is a morning walk, an outdoor professional job, or an evening ride with family and friends.
The soles of these boots get damaged and need a repair or replacement every 10-12 months. You may be relating the condition of your Vibram soles with this example.
If Yes, then do not worry! I will share a comprehensive guide to replacing a Vibram sole through the Do it Yourself (DIY) Approach. Additionally, I will discuss how to do minor repairing tasks for these soles at home. Know the details in the blog.
What Material Supplies You Need?
You need some essential material supplies to repair and replace broken Vibram Soles. Here is the list :
◈ A Sandpaper
◈ Masters Contact Cement Glue 8oz For Shoe Soles
◈ Vibram Replacement Sole
◈ A Clean Cloth
◈ A Falt tool/ Butter Knife to Peel off the old sole
Note: You can get a variety of Vibram sole replacements and Masters shoe adhesive from My Shoe Supplies Website.
A Step-By-Step Guide to Replace Vibram Soles
Replacing old and damaged Vibram soles is an easy process. You can do it at home by following these easy steps:
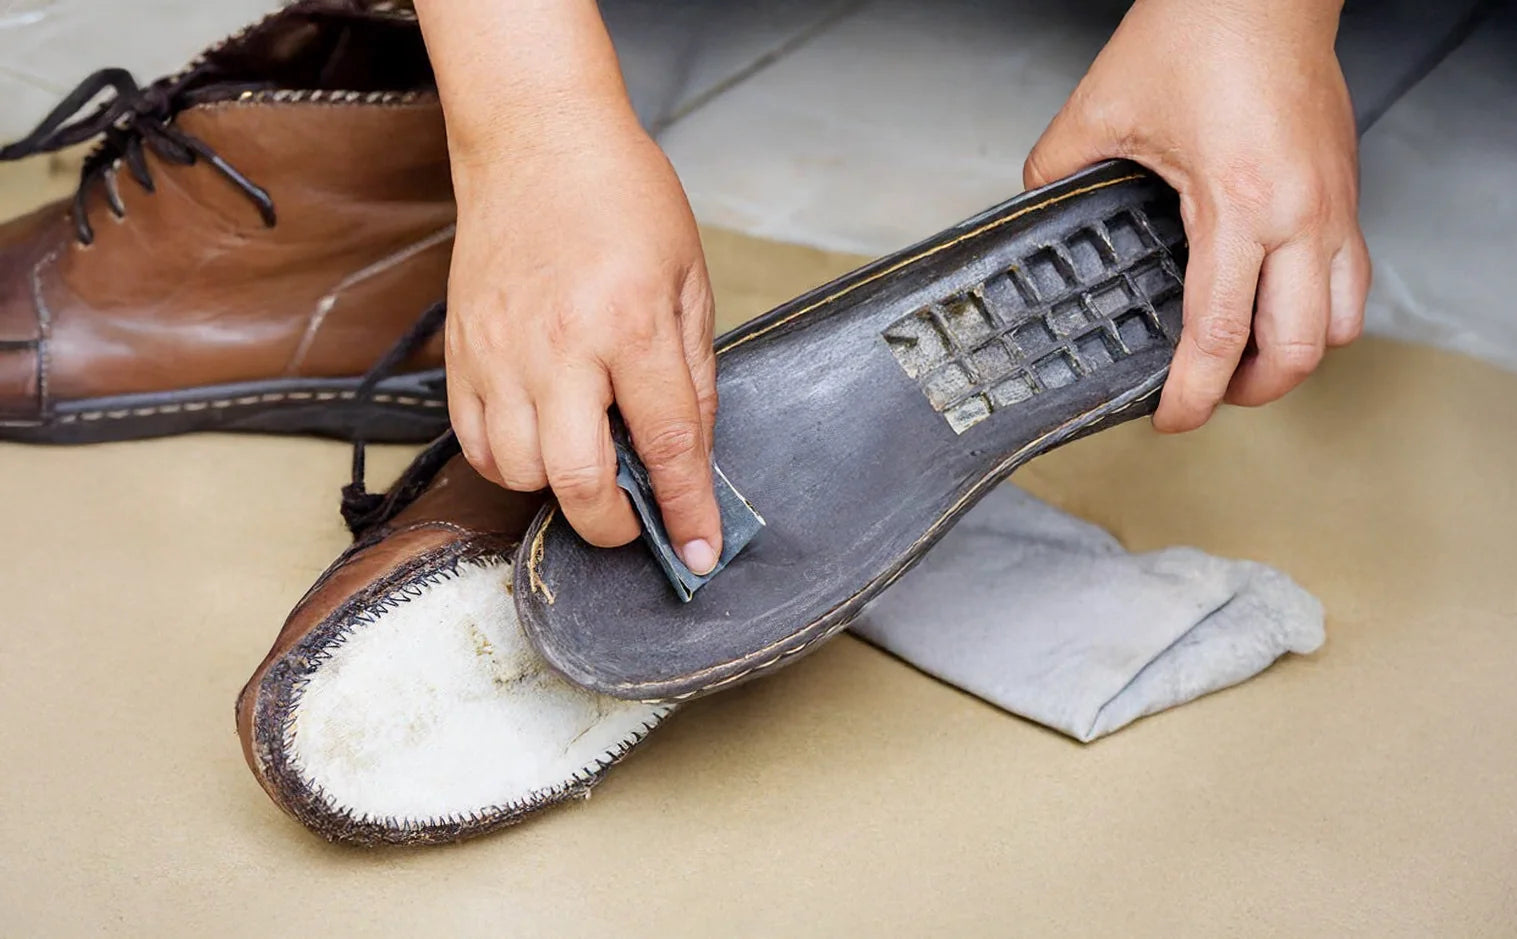
Step 1: Take Out Old Soles
In the beginning, remove old and damaged Vibram Soles by peeling off. Take a flat but pointed tool such as a butter knife to remove these soles from the shoe.
Note: Please remove the sole carefully to avoid any potential damage to the shoe body.
Step 2: Prepare the shoe Surface
Next, prepare the shoe's bottom surface. First, clean it with a cloth to remove dirt and old dried adhesive. Use sandpaper to make the shoe bottom surface rough to bond the adhesive properly.
Step 3: Apply the Adhesive
Now, apply the adhesive on the shoe and the new Vibram sole. Please cover the shoe surface and new Vibram sole end to end with the adhesive.
Step 4: Align the New Sole
After that, align the new Vibram sole with the shoes and press them tightly. Next, put pressure on this bond with a heavy object or clamps for some time to achieve good bonding.
This guide will help you replace damaged soles easily at home. However, if your soles are not heavily damaged, they need a repair.
Also Read this Blog: Why Vibram Soles Are the #1 Choice for Hikers and Workers
How To Repair Vibram Soles by-self?
Sometimes, you do not need a full replacement of your Vibram soles. Instead, repairing like these methods can work best:
1: Minor Damage
By simply applying an adhesive the minor damage to Vibram soles can be repaired.
2: Repairing a Hole
If the Vibram sole has a hole. Then, choose the stitching option. Take a leather patch and sew it on the sole using a long needle. Note: You can add some glue on the edges and apply a waterproof sealant for additional safety.
These two methods can mend slightly damaged Vibram soles to increase shoe life.
With this approach, you can avoid the expense of full sole replacement and shoe replacement.
◈ Final Thought
Repairing or replacing your Vibram soles is like giving a new life to your shoes. It is possible without professional help.
You only need the right guide, essential material supplies, and patience for these shoe sole-reviving activities. Clear your confusion by asking questions in the comment section.
Frequently Asked Questions (FAQs)
Q1: What is the best glue for shoe sole replacement?
The Masters Contact Cement Glue 8oz For Shoe Soles is the best adhesive.
Q2: Where can I get Vibram Sole Replacement?
You can get a wide range of Vibram Sole Replacements from My Shoes Supplies Website.
Q3: Can I repair Vibram Shoe Soles?
Yes, you can easily repair using an adhesive or stitching method.
Q4: Do Vibram Soles wear out faster?
It depends on their use. Typically, they can last for 12 to 18 months.
Q5: Are Vibram Soles Good for Rainy Weather?
The Vibram Megagrip sole is best for rain and other extreme weather conditions.


